
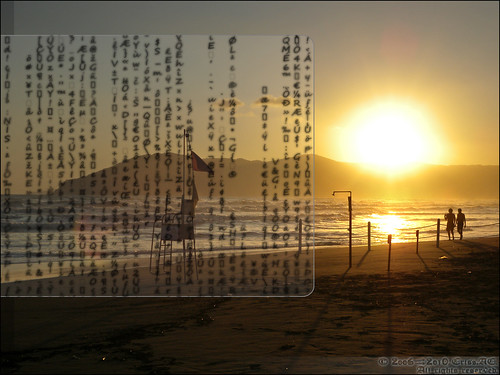
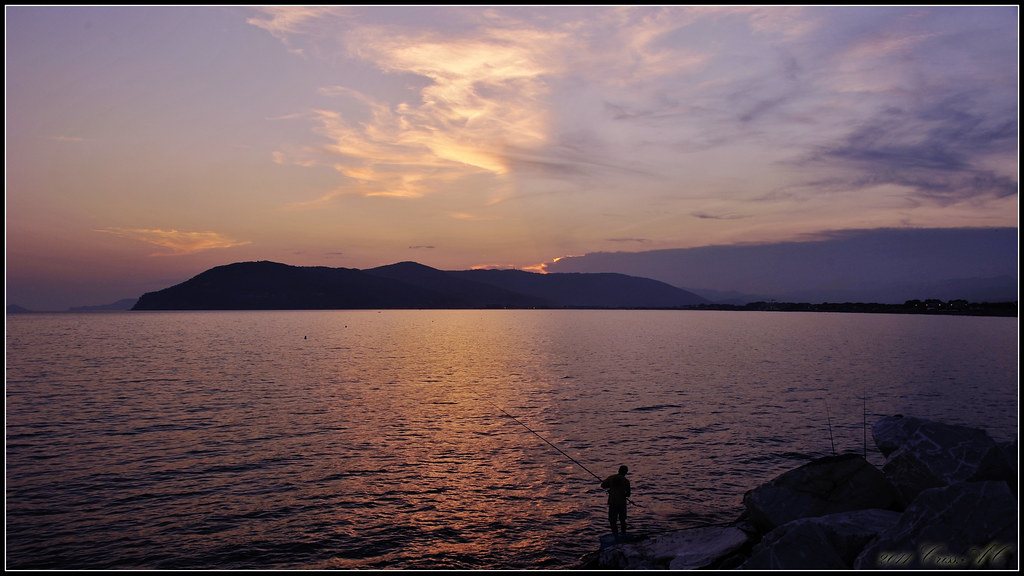
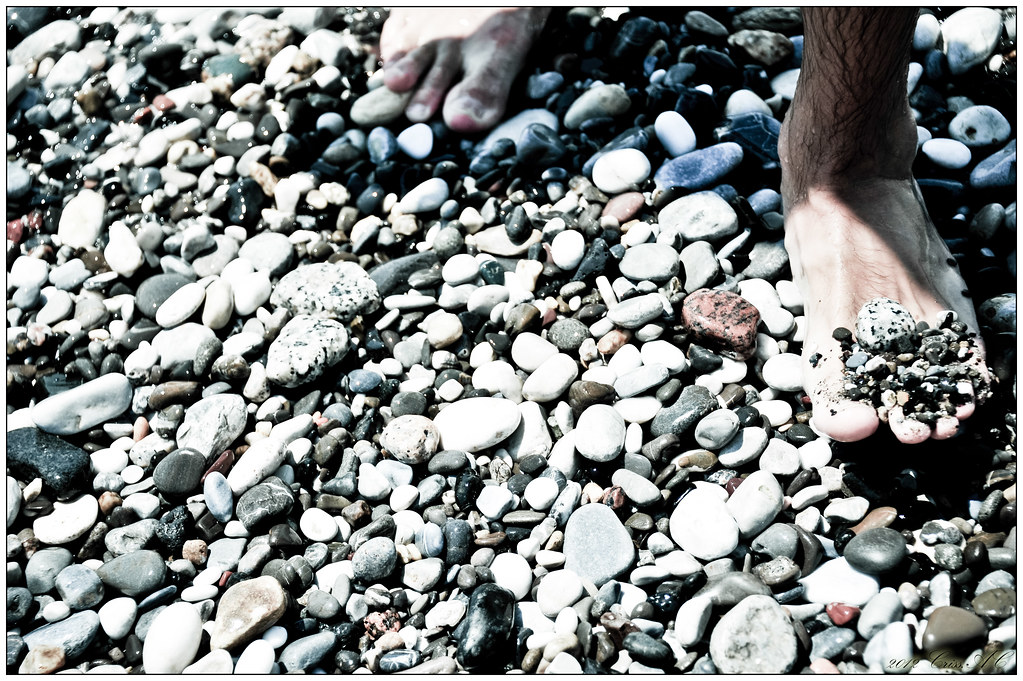
Part of the “I FEEL” series, this picture was taken while visiting my parents in July 2009, right after a storm on the Italian beaches. I tried to capture a story, and it was yesterday to have seen it…


Copyright © 2014 Criss-AC.net. All rights reserved.
Copyright © 2014 Criss-AC.net. All rights reserved.
Copyright © 2014 Criss-AC.net. All rights reserved.
Copyright © 2013 Criss-AC.net. All rights reserved.
Copyright © 2012 Criss-AC.net. All rights reserved.
Copyright © 2012 Criss-AC.net. All rights reserved.
Copyright © 2011 Criss-AC.net. All rights reserved.
Copyright © 2011 Criss-AC.net. All rights reserved.
Copyright © 2011 Criss-AC.net. All rights reserved.
Copyright © 2010 Criss-AC.net. All rights reserved.
Part of the “I FEEL” series, this picture was taken while visiting my parents in July 2009, right after a storm on the Italian beaches. I tried to capture a story, and it was yesterday to have seen it…
Spent half of the yesterday’s night and most of this Sunday on what you see below:
(Picture is clickable, it will take you to its Flickr page)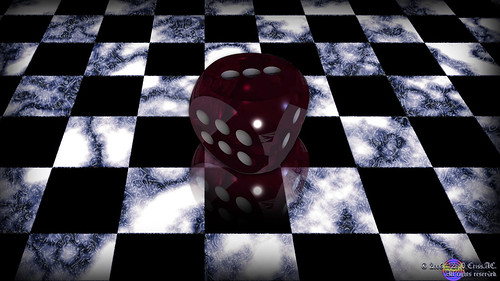
The dice used in this project was created in POV-Ray by unknown author. What you see here is pure Adobe Photoshop CS4. Full version 1920x1080 (without logo) is available for download here. Thanks for watching!
Hi folks. I’ve been again playing with Adobe Photoshop CS4 and this time I used a cat model found online by a friend of mine who sent it to me. I’ve decided to use it as a base to start to create a larger picture. And… this is what I came with this time. Picture is clickable (will open in a new window), it will take you to my Flickr page, where I usually publish my pictures.

As usual, I work on the 1080p resolution, to match the size of my monitor (1920x1080). The version for download has no logo embedded, this is only used for display purposes. Please find the full size no-logo version here.
*Cat model created by Borisov Taisiya. Although it was a public, I believe he deserves the credits. Thank you for the inspiration!
After spending a considerable amount of time working, I finally managed to come up with two other wallpapers. Please find them below!
As usual, I work on 1080p resolution (1920x1080) to match the size of my monitor.
Below the text is taken from Google Czech Republic. Text is in English.

Available for download here.
Download the 1280x1024 version here.
Here the text is taken from Google Japan. Text is partially English and partially Japanese.

Available for download here.
Download the 1280x1024 version here.
Guess most of you folks out there know the guy? Once I used to be a big fan, in the days when I was a kid. Now I have made these wallpapers as a tribute to the old days… to Mario times. I have created them from scratch, using Adobe Photoshop CS4. I don’t claim to be a master of digital imaging, but I do think I’ve done a pretty nice job  . You can find the tutorial I’ve followed to create these images here, I wouldn’t have managed without it.
Both of these two wallpapers are 1080p, high-resolution widescreen images, 1920x1080. I will post a download link under each of them for the full-screen version. The downloaded version will be clear of my logo.
Here is the first of them, the dark-blue version. The picture is clickable, it will take you to my Flickr page, where I initially published this image.
 Download the 1920x1080 version here.
 Download the 1280x1024 version here.
And here is the second one, the orange version. Same here, picture is published on my Flickr page. When you click it it will take you there, without leaving this website.

And as I said, here is the download link.
Download the 1280x1024 version here.
Thanks for watching!
Will simply explain how I did create this picture: (the picture is clickable, it will take you to my Flickr page)

During the last weekend, I took my girl out for a walk. We’ve been walking through the center of Prague, and at some point, we stopped taking some pictures. In her glasses there was a great reflection of the towers, and I am crazy about shooting such things. So I decided I should give it a go. In this tutorial I will show you how you can turn a rather usual and boring picture into something that will look way better.
The camera I am using is a Nikon Coolpix P6000, the best camera in the Coolpix series, and Adobe Photoshop CS4 Extended, also the best graphic editing software.
This is the initial shot, untouched:

Now, the first thing I did was to apply a couple of photo filters. I have applied them as new layers, and I’ve used two. First one is a deep brown, applied as normal (hex code #663300), second is a deep blue (hex #000033), applied as overlay. If you’re familiar with Photoshop, you should know what these codes are.
Second thing to do is to smooth the face tones and texture. I have used the quick mask mode to paint the area that needs to be smoothed, and after I’ve got the selection I wanted, I have created a new layer as a copy. Now, remember to always have a background duplicate when working, always! If something goes wrong and you’re out of UNDO-es, you can always revert to the initial background.
So, as I said, I have created a new layer with the area that needs to be smoothened, and the way I did it was using a great blur filter called Surface blur. It has been implemented firstly in the CS2 version if I am not mistaken, and what it does? It blurs in such way that most of the details or edges are preserved, and it is the best blur technique if you’re going to smooth some textures in your own photographs.
After I’ve applied that filter I had to adjust the opacity in top of the initial layer, to make sure that no textures are being lost due to blurring. Also, you can adjust the fill ratio as well, the result will be the same.
As soon as I got that and I’ve been happy with the result, I’ve applied a black border frame, and this was all. This is the result!
Later edit: I have found a couple of tutorials/ applications, and I must add before you click on them, that they are for purchasing only. There are other free tutorials on the web, but these helped me the most.
Enjoy!

 !! From my “long” digital photographer experience, I just created my first panoramic photo! Do not expect to find an actual panorama… why I call it so it is because I have successfully managed to stitch two pictures together… and the result came out quite nice. (Or at least… this is what I like to think.) I will show you how it started, how I went through, how I got to the final result. But first, let me tell you its story:
I was walking with my girlfriend and two of her friends (a very nice couple) that came to visit us from Russia on Charles Bridge (Karluv Most – as they call it in Czech) across Vltava, in Prague Czech Rep. Well, it is an old bridge and at each 10 meters there is at least one statue, made of either bronze, either rock. There is the saying that if you rub your hand against one of the bronze statue and you make a wish, that wish will turn reality.
So as we were passing through, Julia decided to make a wish so she placed her hand on the statue. Her boyfriend Pash was right behind her, and he thought he could go on and make a…  …a wish
  . A big wish I’d say! So I took the shot, and unfortunately I was not quick enough to take a one shot only. I needed two: one for Julia’s wish, second for Pasha’s. After one year… more than a year, I found out that you can put together two pictures, and to create a picture from two “halves”. The software I used is Adobe Photoshop CS4 Extended. Enjoy the “tutorial”:
I shall start by showing you the initial pics I took, untouched, exactly the same way I shot them (now they are resized for publishing purposes):
This is the first one, with Julia making the wish. I have also published them on my Flickr page, so you can click on them and you’ll see them in large size:

Second is Pasha, making his “wish” now:

So I have used Photoshop to stitch them together, in an attempt to create a “panoramic” photo. First I had to load them both in Photoshop, then from the File menu –> Automate –> Photomerge… and this is the result I got:

As you observe, the top right corner is stretched all the way up (which is normal in the original picture). The black areas need either to be cropped (which will not make a good picture after all – try to see it in your mind if black was cropped) or… either be constructed. I decided to do a little of both.
First thing to do was to use the amazing Vanishing Point from the Filter menu to get rid of the distorted top-right corner. After playing a bit with Vanishing Point, the picture looked like this:

So far so good. The corner does not look distorted anymore, so I can say now that I can move on to the next step: constructing the areas under black or cropping them.
I will start with the black area in the bottom-right corner. As you notice, there is pattern that can be easily copied and multiplied. You can create ground, cracks, corners, using the existing background. The tool I’ve used is called Clone stamp tool, and you can access it from the toolbar in the Essentials display mode, or simpler, by pressing S on your keyboard. After I’ve reconstructed that corner, the picture looked like this:

The corner is now built totally. I have used nothing but pattern already existing in the picture itself. And the great Clone stamp tool, of course.
Now only one step remains: the black area at the top. For an easy to understand reason, I have decided to crop it (there are trees and bricks from the house, very hard to construct without creating a repeated pattern). So I will simply crop that. Doing so it will just save me some extra time + work, and besides, the pic will get a more widescreen aspect ratio.

We are here so far. Everything looks more or less OK. Now it is time to work a bit on the enhancing. I’ve decided to go for a B&W treatment, and to add a nice 12 pixel black frame, each side bordered by a 2 pixel thin white border. This is the final result!
Hope you’ll find this tutorial helpful when creating your own panoramic photos. Photoshop will help you the same way it helped me. So… gotta end this…
… Please share your own work too, and if you’re a Flickr member, keep up with me on there!
Later edit: I have found a couple of tutorials/ applications, and I must add before you click on them, that they are for purchasing only. There are other free tutorials on the web, but these helped me the most.
Enjoy!


