
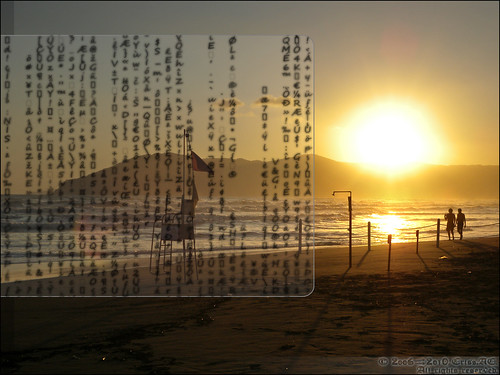
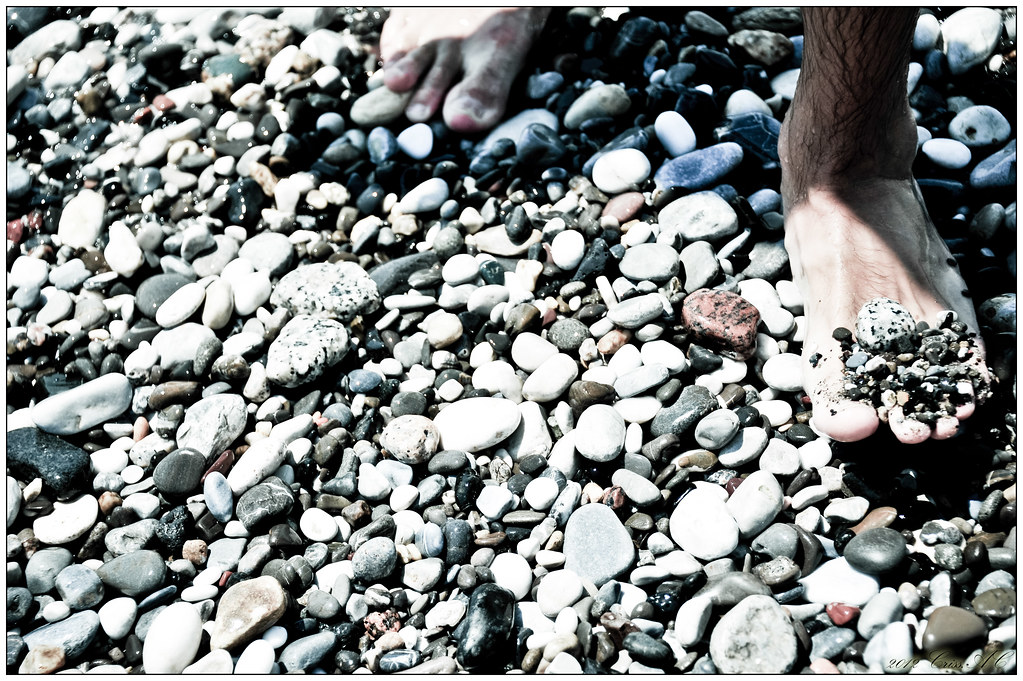
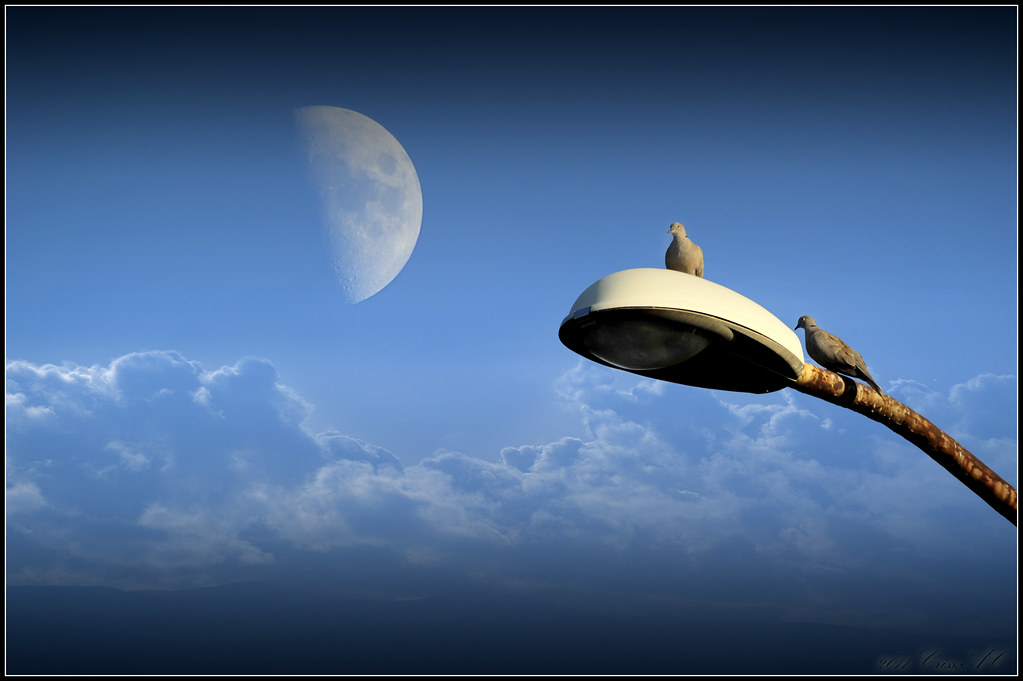
Part of the “I FEEL” series, this picture was taken while visiting my parents in July 2009, right after a storm on the Italian beaches. I tried to capture a story, and it was yesterday to have seen it…


Copyright © 2014 Criss-AC.net. All rights reserved.

Copyright © 2014 Criss-AC.net. All rights reserved.
Copyright © 2014 Criss-AC.net. All rights reserved.
Copyright © 2013 Criss-AC.net. All rights reserved.
Copyright © 2012 Criss-AC.net. All rights reserved.
Copyright © 2012 Criss-AC.net. All rights reserved.
Copyright © 2011 Criss-AC.net. All rights reserved.
Copyright © 2011 Criss-AC.net. All rights reserved.
Copyright © 2011 Criss-AC.net. All rights reserved.
Copyright © 2010 Criss-AC.net. All rights reserved.
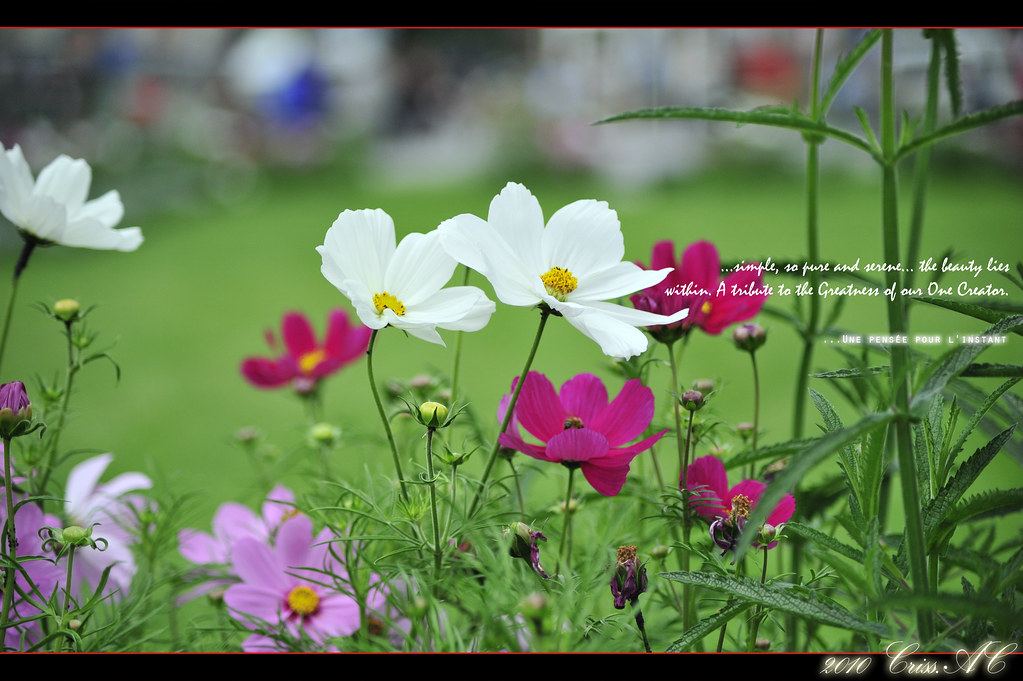
Part of the “I FEEL” series, this picture was taken while visiting my parents in July 2009, right after a storm on the Italian beaches. I tried to capture a story, and it was yesterday to have seen it…
Hi folks, tonight I’ve just discovered the latest version of Opera. The v10.50 is finally released! And as I was too much thrilled by its looks and its new functionalities (check the change log on Opera.com), one thing I’ve noticed to be missing.
As many pro users of Opera out there, I’ve customized to its maximum, to be able to get the maximum of visuals and functionality from it. My previous version was v10.10. I’ve personalized most of the toolbars, tab-bars and so on. And when I installed the new 10.50 version I’ve chosen Upgrade from the setup menu (to keep all my settings intact).
But! this is where “trouble” came from. Its new design didn’t seem to go on well with my settings customized for v10.10. My hardest trouble seemed to be finding the menu bar, to access the Tools –> Preferences settings (which is actually what I care for).
After hours of searching and researching, I’ve discovered a way. I am going to share the way to get back your traditional old-school menu which is now gone in v10.50.
I don’t know if you’re able to see all the details from the below screen shots in the size of my blog, that’s why I’ve made the pictures clickable to get the full-size version once you click them. That’s how my new Opera looked like once I’ve upgraded from v10.10. No menu bar at all. At this stage, impossible to access it.
To get access to the menu you will have two options. Either you reset the tab bar to its defaults, or you drag and drop the menu button from the Customization menu. I’ve chosen Reset to default. The steps: Right click anywhere on the tab bar, choose Personalization, then Reset to Default (I am using the French version, so I hope I am giving the exact translations).
And this is how it will look like once it is reset to its default appearance. You will notice a little red button with a half white O on it, in the left side of the tab bar.
That’s the standard “menu” in Opera 10.50. You would have gotten this if you were to install a fresh copy, with default settings. To get this button as a menu bar, as in most Windows pre-7 applications, follow the steps in the picture below:
Once you click Show menu as a bar (…? hope I got it right from French), it will turn out like this. However, please be advised that the menu bar is now Win 7 friendly. Does not support the Aero feature which is – as a matter of fact – present in rest of the Opera. But not the menu bar. It looks like this, non-transparent and boring:
And if you agree that indeed it destroys the good looks of the shinny new Opera, there is one way to get rid it of it. Either to place it back as a button in a toolbar(which you can drop anywhere you like), or remove it completely. To do so, click File, then uncheck the box saying Show the menu as a bar. Once you do that, it will be placed as a button as you saw in a picture above.
That’s it. Hope it will come in handy to other people who might have had same troubles as me. Enjoy your new Opera!
That’s one:

That’s Deathstar. Now there is one more available network:
 And Deathstar sux :D
These are my creative Czech neighbors, with password-protected networks. Excepting one of the “stars”, though.
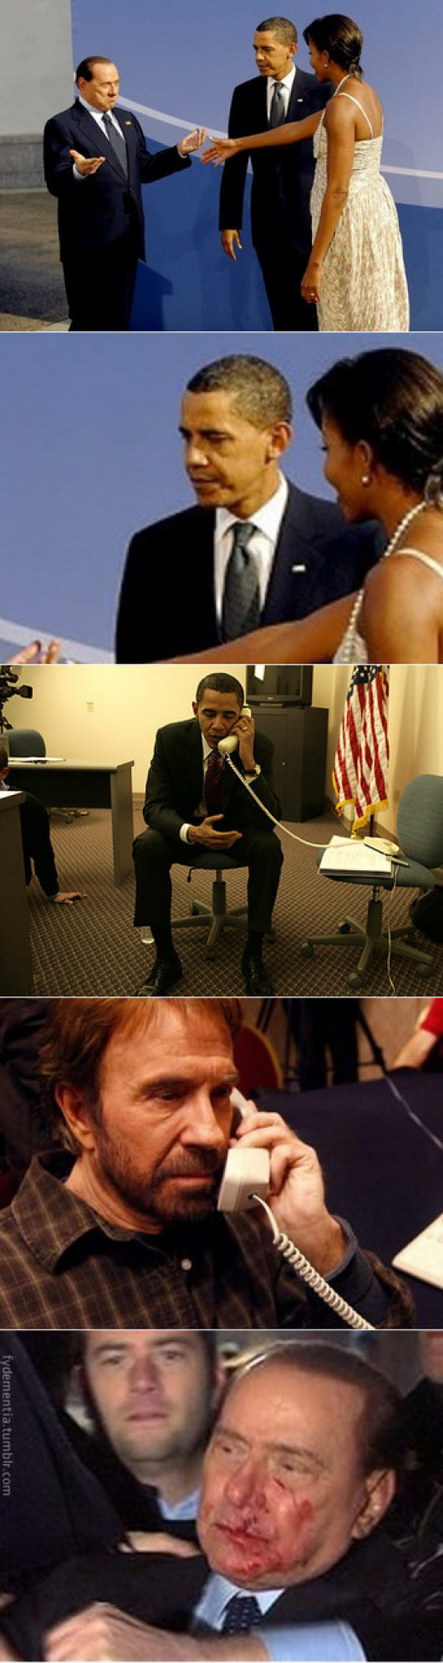 We’ve seen Chuck Norris vs. Google in a previous post, let’s now have a look now at what happens when Chuck Norris meets Silvio Berlusconi.
Hi folks. I’ve been again playing with Adobe Photoshop CS4 and this time I used a cat model found online by a friend of mine who sent it to me. I’ve decided to use it as a base to start to create a larger picture. And… this is what I came with this time. Picture is clickable (will open in a new window), it will take you to my Flickr page, where I usually publish my pictures.

As usual, I work on the 1080p resolution, to match the size of my monitor (1920x1080). The version for download has no logo embedded, this is only used for display purposes. Please find the full size no-logo version here.
*Cat model created by Borisov Taisiya. Although it was a public, I believe he deserves the credits. Thank you for the inspiration!
After spending a considerable amount of time working, I finally managed to come up with two other wallpapers. Please find them below!
As usual, I work on 1080p resolution (1920x1080) to match the size of my monitor.
Below the text is taken from Google Czech Republic. Text is in English.

Available for download here.
Download the 1280x1024 version here.
Here the text is taken from Google Japan. Text is partially English and partially Japanese.

Available for download here.
Download the 1280x1024 version here.
This Waltz is my favourite one written by the Russian composer Dmitry Shostakovich. All pictures are taken in Russia, some of them quite nice. This music reflects very much Russian character, it has something national in it. Feeling happy every time I’m listening to it…
This is just a follow up of my last post, in which I was considering getting a license for Norton Internet Security 2010 from eBay instead of purchasing it from Symantec. At that time (2 days ago I guess) I wrote on Tom’s Hardware forum, asking whether or not a license purchased from eBay is legit or not. People advised me to not purchase it from eBay as it could be automatically generated with a keygen, or stolen, or whatever, and it will get blacklisted by Symantec as soon as I’d try to update.
Well, the reason I am writing now is that I actually won the auction on eBay for it and bought it for $16,99, while on Symantec.com is $79,99… and I could not withdraw my bid, as if I was to follow the advices from the thread on Tom’s Hardware. The seller emailed me the license minutes after the auction was closed and I used it to activate NIS 2010 at once. It worked. To my surprise, it worked. It is a license for 3 users, for 2 years. Gave one to my brother, gave one to my girlfriend, and will keep one to use on my own computer. See pictures below, which will show the subscription period and also the screenshot from my Norton account, which did not blacklist this license.
Click to grab the 1280x1024 version.

Here’s the link to grab the 1280x1024 version.
So apparently, everything went fine, but I still do not understand one thing: why it is on eBay that cheap while on Symantec is 4x more expensive.
I am a big fan of Symantec products. I have been using Norton Internet Security ever since I got my first computer. But never actually bought a license for it. Recently I was considering buying one for NIS 2010 (which is an amazing product), to use on my new computer, and mostly out of curiosity, I went searching for it on eBay. To my surprise, I was able to find it for sale on auctions starting at $0,01!! And there are several sellers who offer it for sale, and if you look at the feedback these people received from the others who bought it already, you will see that they have sold VALID licenses! See a screenshot I’ve made below, in case the auction will not be available anymore at the moment you read this post:

...and now I am wondering. A license for NIS 2010 is somewhere around €79,99 on Symantec.com. Why would Symantec agree to provide a valid license on eBay for as little as $10 or even under?
What's the trick? Would I be getting a good deal if I go on and purchase if from eBay? Would Symantec recognize it as a valid license?
___________________
Later edit: I won the auction on eBay and I paid for it. Seller sent it to my PayPal email address, and I used it to activate. It worked. I have put the screens with activation and its status in my Norton account here: http://www.criss-ac.net/2009/09/so-it-works-nis-2010-bought-from-ebay.html
…my new baby! She is a member of the Nikon family, and her name is Nikon Coolpix P6000. There are a couple of things that make her so special. One of the most 
interesting things about it is the fact that it has integrated GPS. And what does it exactly? It just tags your photo with the latitude and longitude and embeds that data into the EXIF headers of the picture, so later when you upload it to Flickr for instance, it will be automatically placed on the map. Details about what the camera can do you can find here, the official site. Also, please find a couple of pictures that I have taken with this camera on my Flickr page.
Will simply explain how I did create this picture: (the picture is clickable, it will take you to my Flickr page)

During the last weekend, I took my girl out for a walk. We’ve been walking through the center of Prague, and at some point, we stopped taking some pictures. In her glasses there was a great reflection of the towers, and I am crazy about shooting such things. So I decided I should give it a go. In this tutorial I will show you how you can turn a rather usual and boring picture into something that will look way better.
The camera I am using is a Nikon Coolpix P6000, the best camera in the Coolpix series, and Adobe Photoshop CS4 Extended, also the best graphic editing software.
This is the initial shot, untouched:

Now, the first thing I did was to apply a couple of photo filters. I have applied them as new layers, and I’ve used two. First one is a deep brown, applied as normal (hex code #663300), second is a deep blue (hex #000033), applied as overlay. If you’re familiar with Photoshop, you should know what these codes are.
Second thing to do is to smooth the face tones and texture. I have used the quick mask mode to paint the area that needs to be smoothed, and after I’ve got the selection I wanted, I have created a new layer as a copy. Now, remember to always have a background duplicate when working, always! If something goes wrong and you’re out of UNDO-es, you can always revert to the initial background.
So, as I said, I have created a new layer with the area that needs to be smoothened, and the way I did it was using a great blur filter called Surface blur. It has been implemented firstly in the CS2 version if I am not mistaken, and what it does? It blurs in such way that most of the details or edges are preserved, and it is the best blur technique if you’re going to smooth some textures in your own photographs.
After I’ve applied that filter I had to adjust the opacity in top of the initial layer, to make sure that no textures are being lost due to blurring. Also, you can adjust the fill ratio as well, the result will be the same.
As soon as I got that and I’ve been happy with the result, I’ve applied a black border frame, and this was all. This is the result!
Later edit: I have found a couple of tutorials/ applications, and I must add before you click on them, that they are for purchasing only. There are other free tutorials on the web, but these helped me the most.
Enjoy!


